by Eliza Sterling
Aching after a fitness blitz? Join a growing number of gym lovers in embracing foam rolling, a potent tool in muscle recovery and pain reduction. This technique—technically known as ‘self-myofascial release’—uses your body weight to work out those pesky knots and tension areas. Once exclusive to professional athletes, it’s now enjoyed by the fitness community at large.
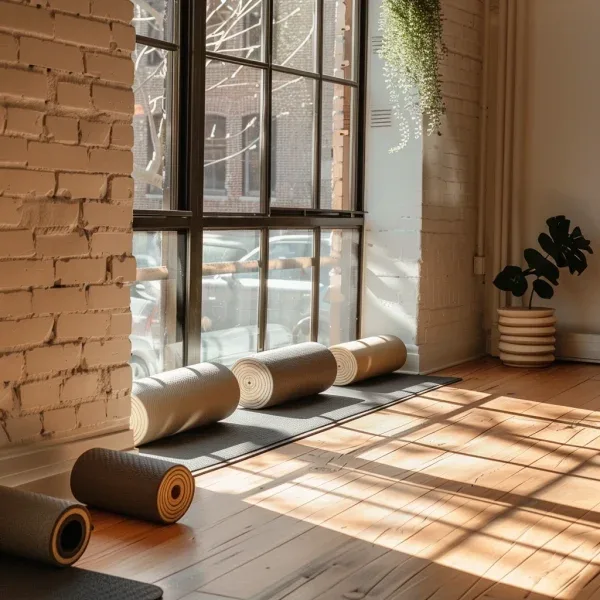
Whether you’re prepping for a challenging gym session or winding down from one, foam rolling is an advantageous addition to your routine. When performed post-workout, it significantly bolsters your recovery time. The method is elementary: locate the tense muscles and roll over them for up to a minute. But remember, foam rolling doesn’t snag a free pass from stretching; both are crucial for those engaging in strenuous training. Most fitness centers provide foam rollers, or if you prefer to invest in your own, they’re readily available online with varied price points.
Let’s Roll Out!
Foam rolling is straightforward but demands proper form for each muscle group. Below are step-by-step guides to releasing tension from pivotal areas: hamstrings, front thighs, ITB (Iliotibial Band), glutes, calves, and back.
1. Hamstrings Release:
* Sit on the floor, positioning the foam roller beneath your left knee.
* Cross your right ankle over your left.
* Support your upper body with your arms, lifting your rear off the floor.
* Roll back and forth over the foam roller.
* Alternate between sides, carefully rolling the area behind the knees.
2. Front Thighs Release:
* Lie face down, placing the roller under your thighs.
* Prop up your upper body using your arms, elevating your torso.
* Roll back and forth over your thighs, ensuring you avoid the knees.
3. ITB Release:
* Lie sideways with your right hip on the foam roller.
* Flex your left leg, resting your left foot on the floor ahead of your right foot.
* Support your upper body with your right forearm and left hand.
* Engage your arms to roll from hip to knee and vice versa.
* Switch sides, taking care to bypass the knee joint.
4. Glutes Release:
* Position yourself on the foam roller, hands resting behind you.
* Lay your right foot on your left knee.
* Incline slightly to the left.
* Roll forward and backward over your bottom, then switch sides.
* Opt for small, controlled motions.
5. Calves Release:
* Sit on the ground and set the foam roller beneath your right calf.
* Place your left ankle atop your right.
* Support your upper body using your arms, lifting your rear.
* Roll forwards and backwards over the roller, from knee to ankle.
* Alternate sides, holding positions over tender muscles for a few moments. Avoid rolling over knee or ankle joints.
6. Back Release:
* Lie on your back, situating the foam roller beneath your upper back.
* Place your hands behind your head as if performing a crunch.
* Roll backward gently, moving the roller towards your lower body as you extend your legs.
* Keep your knees bent during the process.
With these guidelines, you are set to enjoy your workout to its full extent and zip through recovery, pain-free. Happy rolling!
foam rolling, recovery, muscle pain, blood flow, self-myofascial release, active lifestyle, workout, gym, stretching, hamstring release, front thigh release, ITB release, glute release, calf release, back release, physiotherapy, home workout
Leave a Reply